I wanted to gather all the adjustments you can do for a trousers in one post, buut, I figured it would be such a long post and that it would take forever to write. Therefore, I will divide it into several posts and instead work on categorizing the adjustments to make it easier to find them here on the blog (will get back to you when my website is better structured and easier to search in …)
Anyway. I’ll start by showing how you can increase or decrease the width on your pattern.
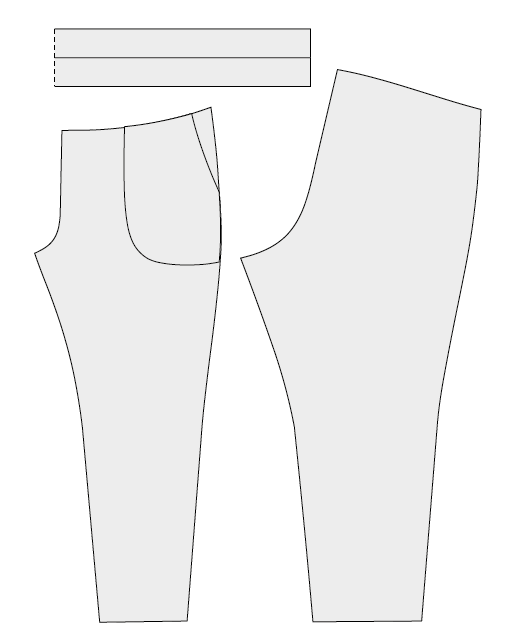
Below is a picture of my Fieldfare joggers for women, but of course you can apply the same adjustments to other patterns. Before making any adjustments, I recommend you to check the stretch of your fabric! If it’s a stiffer fabric than recommended, it might be better to even go up a size. But if it is a very stretchy fabric you may not need to increase so much.
Increase the waist:
If your waist measurement is 6cm larger than the body measurement list, you can increase the waistline by 6cm in total. Distribute half that width, ie 3cm on front side, back side and back rise and also increase the waistband by 3cm. Also adjust the pockets. You only increase half the width because all the pattern pieces are cut twice, and then you increase the total with 6cm.
How you distribute the width varies on your body silhouette. If you are straighter in the waist on the sides, you may only want to add the width to the sides and nothing at the back rise. Would you rather increase the width at the tummy, I recommend a “full tummy adjustment” which I will write about in a later post.
Decrease the waist:
The same applies if you want to reduce the waist by a total of 6cm. Divide it in half and reduce the width in the sides and the back rise, or solely in the sides depending on your body silhouette. Remember to reduce the waistband as well. Also adjust an inner and outer pocket patterns.
Increase the width of the hips:
If you want to increase the width of the hips on the pattern, draw a new softly rounded line and widen the desired width on the hip. Look at the pattern where the hip is at its widest and increase the most there. Also adjust the pockets. To calculate how much you want to increase, compare your measurements with the body measurement list and then distribute it on the pattern. So, for example, if you want to increase a total of 4cm, increase 1cm on the side. (Front piece increased 1cm x2 + Back piece increased 1cm = 4cm increased total width).
Look at your silhouette and see where it is you want to increase the width. This adjustment is suitable if you only want to widen the hips on the side. But if you would rather increase the width for a fuller seat at back, I recommend only increasing the width at the back patter piece, which I will show in a later post.
Decrease the width of the hips:
If you have straight hips and there is extra width on the sides, you can make the sides straighter. If you want to reduce the hips by a total of 4cm, you reduce 1cm on both the front and back hips. Also adjust the pockets.
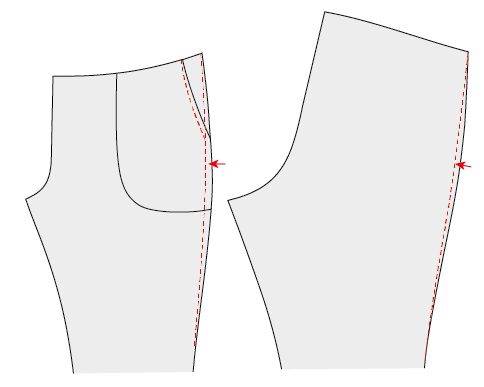
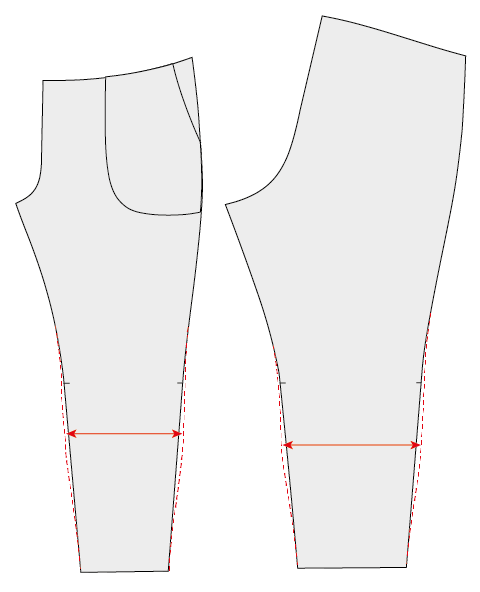
Increase the width of the calf:
If you want to increase the calf width by a total of 4cm, divide it with 4, and you then increase each side by 1cm. About halfway or 1/3 between the knee and the bottom edge, you can add the width and then redraw the sidelines to a soft line.
In this example I have not increased anything on the bottom width, but you can of course add width there as well to get a wider leg.
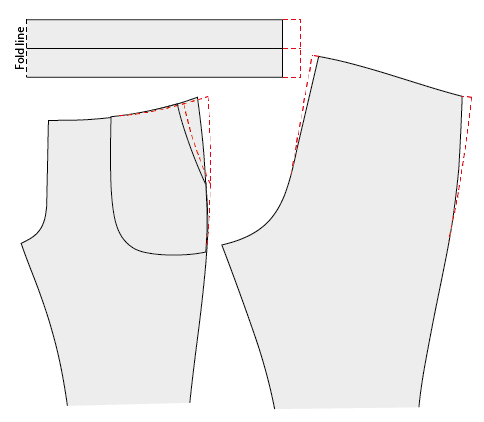
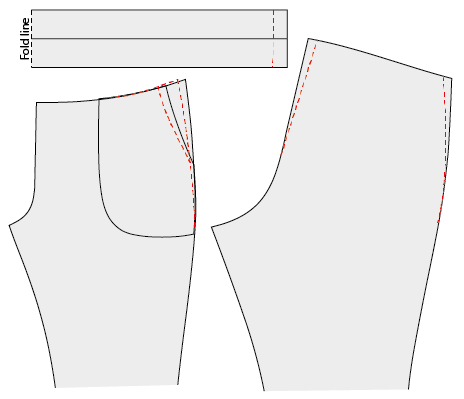
Increase the width of the front thigh:
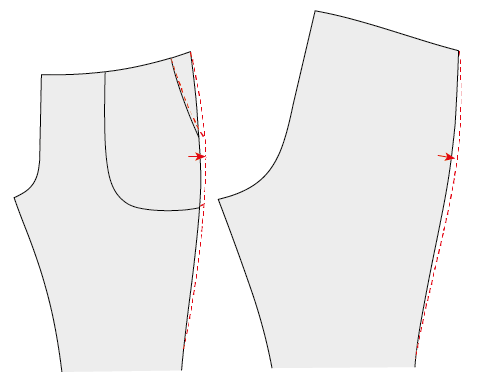
If you have wider thighs in the front, it is better to only increase the width of the front piece. Cut the pattern like the dotted lines. You want to keep the length of the outer and inner side seams since they will be sewn together to the back piece. Increase the width in the middle of the thigh and draw out new smooth side seams. The waist shape at the top can be kept same as before (a bit of the height is reduced in the middle as you twist the pattern pieces).
Doing this pattern adjustment is good if you want to increase the front thigh width quite a lot. But if you only want to increase it with 1-2cm you can make it easier and just “straighten” both the inner and outer side seams between the crotch and the knee.
I hope this was helpful! In the next post I will show adjustments for a full / flat seat and full tummy adjustment.
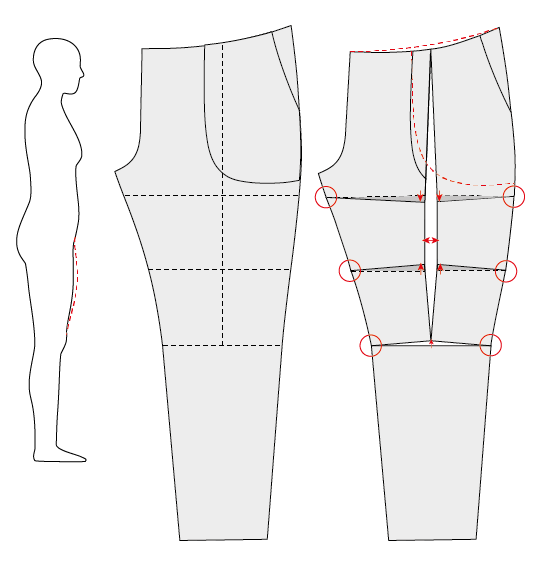
But it’s not always easy to know how or where to add or remove the width. Start by carefully measure your measurements (and measure often!) and compare them with the body measurement list or size chart. Different companies will probably have different size charts, so it’s good to doublecheck this since it may vary. But it’s also important to know where on your body the measurements differ. Look at your body in a mirror (without being judgmental or self-critical, now it is the pattern and clothes that will be adjusted to your body!!) and simply get to know your body’s silhouette. Your posture has a great impact for how the width is distributed and that is not shown only by measuring your body. I’m the same size when measureing my waist and hip, but since I’ve a bit of a “collapsed” posture and a sway back, the waistband on jeans are usually gaping at the back on my body and the waist feels too tight at my tummy. So even if the the waist size is good for my body, the width needs to be increased at the front and reduced at the back. And yes, this adjustment will also be in a future post!
You can find my Fieldfare joggers at my Etsy shop!